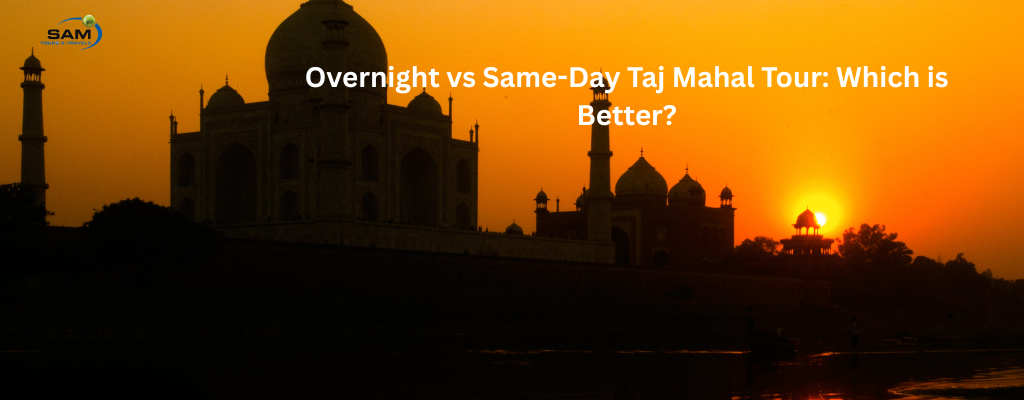
Why Tourists Love the Taj Mahal So Much
- S.A.M Tours & Travels
- Agra Sightseeing, Sightseeing Tour, Taj Mahal Tour, Travel, Travel and Tourism, Travel Services, Travel Tips
- Best Day to Visit Taj Mahal, Friday Taj Mahal Visit, Taj Mahal Closed Friday, Taj Mahal Friday Visit, Taj Mahal Travel Guide
The Taj Mahal attracts millions of visitors every year. People from around the world travel to Agra to see this beautiful monument. However, many first-time travelers often wonder: Why do tourists love the Taj Mahal so much?
The answer is simple.
The Taj Mahal offers beauty, history, romance, and unforgettable experiences in one place. In addition, its architecture and peaceful atmosphere make every visit special.
Let’s explore the biggest reasons tourists love this world-famous monument.
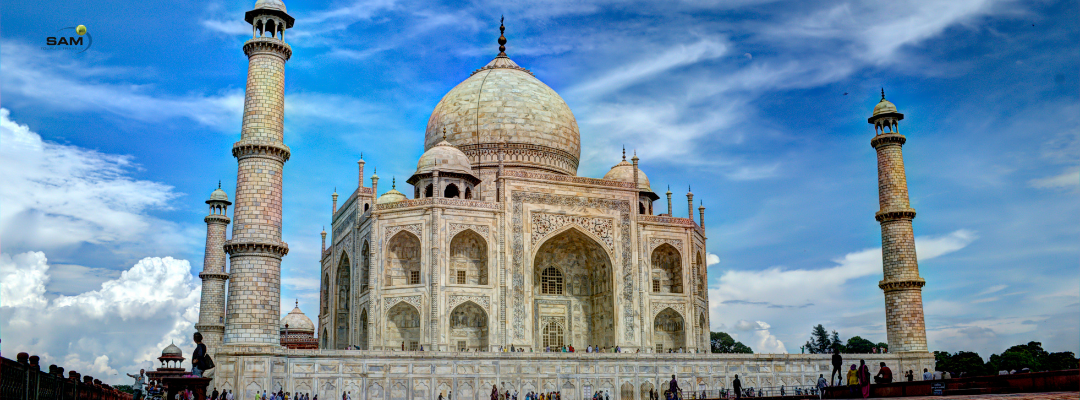
Beautiful White Marble Architecture
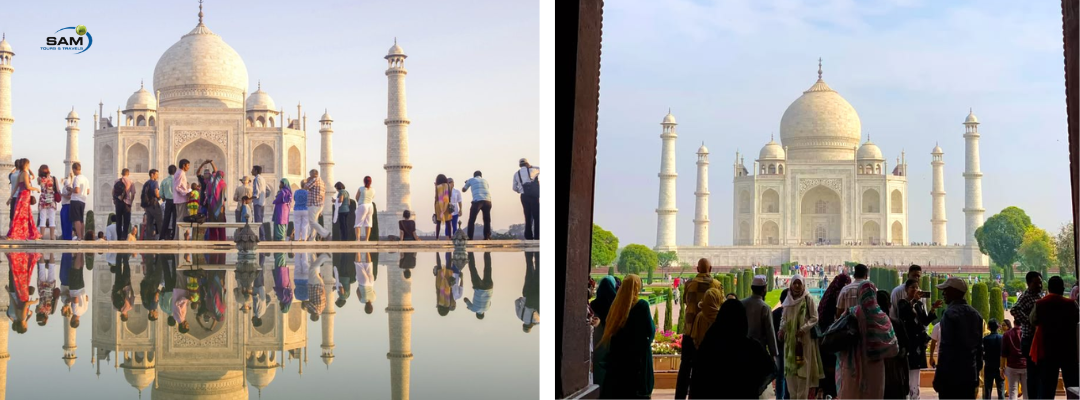
One major reason tourists love the Taj Mahal is its stunning beauty.
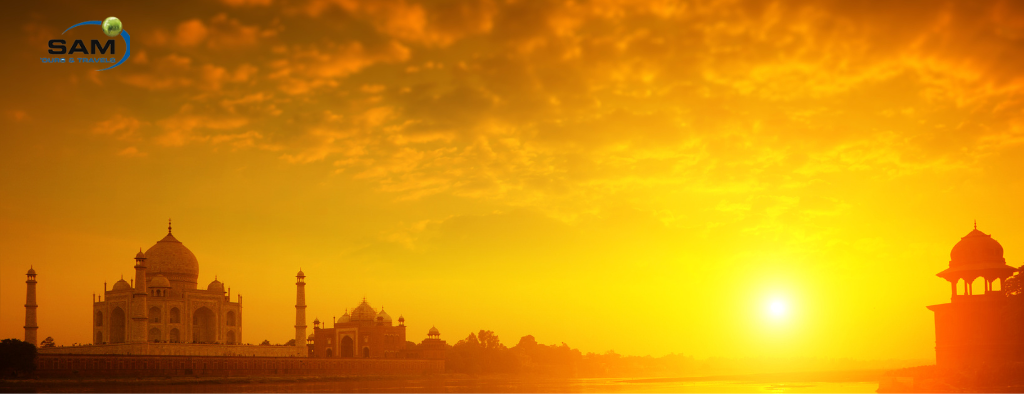
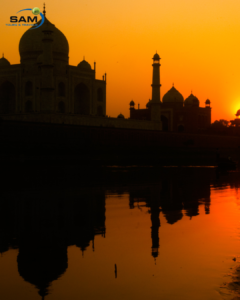
The monument looks breathtaking because of its white marble design. During sunrise, the marble appears soft pink. Later, it turns bright white in daylight. During sunset, golden shades create another magical look.
As a result, visitors never stop taking photos.
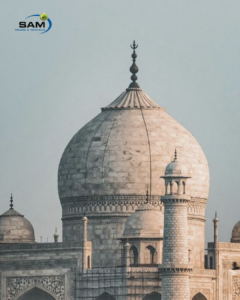
The detailed carvings, floral patterns, and symmetrical design make the monument visually unforgettable.
The Famous Love Story
Many tourists love the Taj Mahal because of its romantic history.
The Mughal emperor Shah Jahan built the monument in memory of his beloved wife Mumtaz Mahal.
Because of this story, many people call the Taj Mahal the symbol of eternal love.
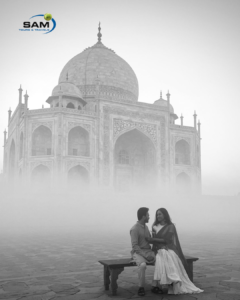
Couples especially enjoy visiting because the location feels romantic and meaningful.
One of the Seven Wonders of the World
The Taj Mahal holds global recognition.
It is one of the Seven Wonders of the World, which makes it a dream destination for travelers.
Many international tourists visit simply to experience this famous landmark in person.
Since people often see it in books, movies, and travel videos, seeing it in real life feels exciting.
Amazing Photography Opportunities
Tourists also love the Taj Mahal because it looks perfect in photographs.
The monument offers:
- Beautiful sunrise photos
- Romantic couple pictures
- Family portraits
- Instagram-worthy backgrounds
Popular photo spots around the gardens and fountains attract photographers from around the world.
As a result, many travelers spend hours taking pictures.
Peaceful Atmosphere
Despite large crowds, many visitors still find the place peaceful.
The large gardens, fountains, and open spaces create a calm environment.
Early morning visits feel especially relaxing.
Therefore, many travelers enjoy simply walking around and enjoying the view.
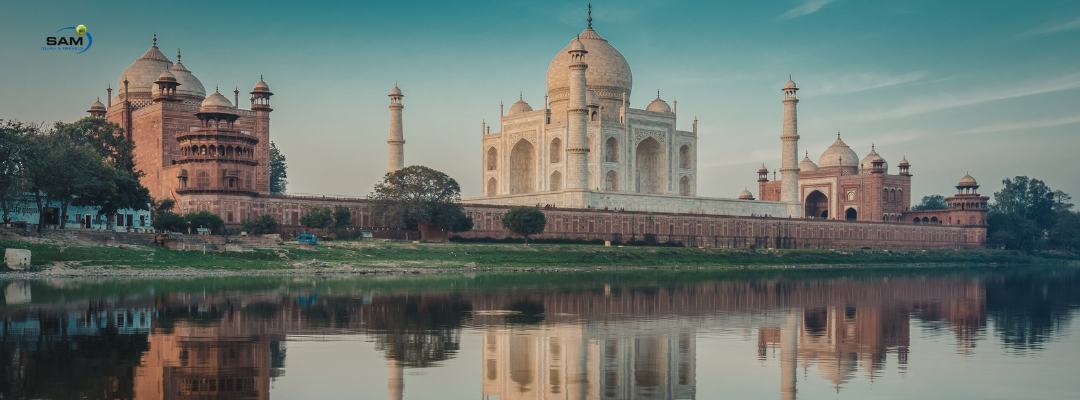
Rich History and Architecture
History lovers admire the Taj Mahal for its craftsmanship.
The monument reflects beautiful Mughal architecture. Marble inlay work, Arabic calligraphy, and detailed carvings show incredible skill.
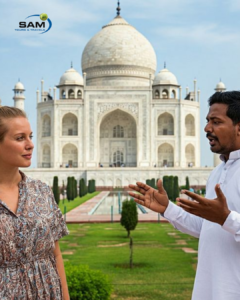
In addition, guides often share fascinating stories about its construction and history.
Because of this, history enthusiasts enjoy every part of the visit.
Easy to Visit from Delhi
Another reason tourists love the Taj Mahal is convenience.
Agra has excellent road and train connections from Delhi.
Many travelers choose:
- Same-day Agra tours
- Weekend trips
- Private guided tours
Therefore, visiting the Taj Mahal feels easy even for short vacations.
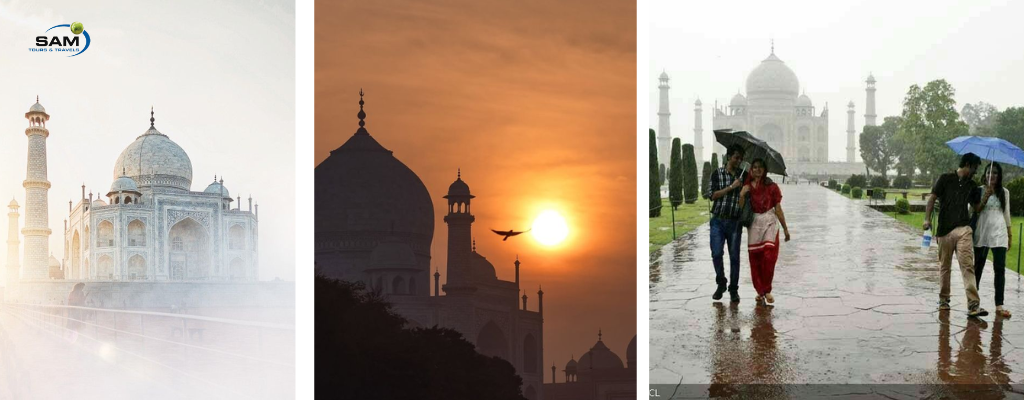
Beautiful in Every Season
The Taj Mahal looks different throughout the year.
Winter
Cool weather makes sightseeing comfortable.
Monsoon
Cloudy skies create dramatic photos.
Summer Sunrise
Morning visits feel peaceful and less crowded.
Because of seasonal beauty, many travelers visit more than once.
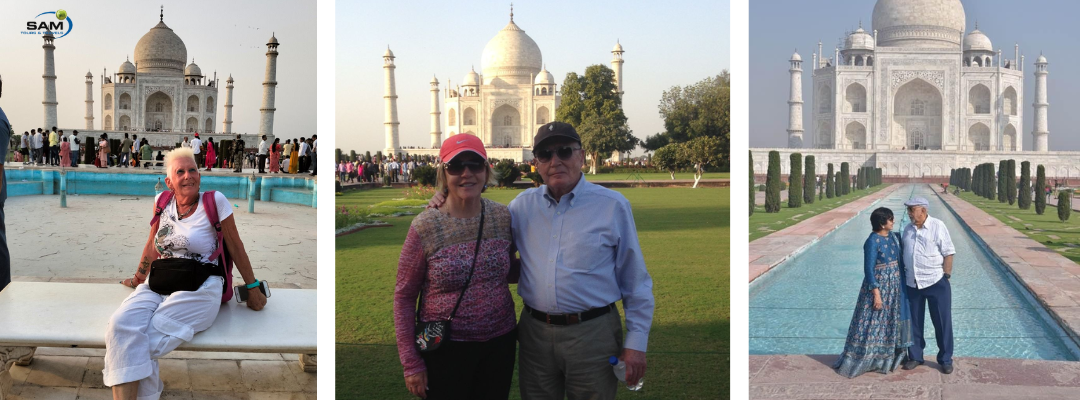
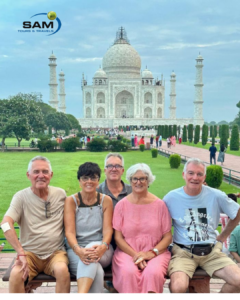
Why Couples Love the Taj Mahal
Couples especially love the romantic atmosphere.
The beautiful surroundings, peaceful gardens, and love story create unforgettable memories.
Many visitors also plan:
- Pre-wedding shoots
- Anniversary trips
- Romantic vacations
As a result, the Taj Mahal remains one of India’s most romantic destinations.
Final Thoughts
So, why do tourists love the Taj Mahal so much?
The answer includes beauty, history, romance, architecture, and unforgettable experiences.
The Taj Mahal gives visitors much more than sightseeing. It offers memories, emotions, and one of the most beautiful travel experiences in India.
That is exactly why millions of tourists continue to visit every year.